Nail Clipping 101: A Guide to Healthy Paws for Your Dog
Nail clipping might seem like a simple chore, but it’s a crucial part of your dog’s overall health and well-being. Long, overgrown nails can cause a host of problems, from discomfort to even long-term joint damage. This guide will delve into why nail trimming is important, the potential health risks of neglecting it, and provide step-by-step instructions on how to trim your dog’s nails safely at home.
Why Trim Your Dog’s Nails?
- Walking Comfort: Overgrown nails can dig into your dog’s paw pads, causing pain and making walks a miserable experience.
- Prevents Injuries: Long nails are prone to snagging on carpets or furniture, which can lead to broken or torn nails– an incredibly painful ordeal.
- Joint Health: Untrimmed nails alter a dog’s gait, putting unnatural pressure on their joints, potentially leading to long-term issues like arthritis.
- Household Protection: Your floors and furniture will thank you! Long nails can cause scratches and damage.
Health Risks of Neglected Nails
- Ingrown Nails: When nails curl too long, they can grow back into the paw pad, causing infections and severe pain.
- Sprains or Strains: Overgrown nails increase the risk of injuries to tendons and ligaments in the paws and legs.
- Postural Changes: Long nails force dogs to shift their weight unnaturally, potentially leading to muscle, joint, and spine problems over time.
How Often Should You Trim Nails?
Frequency depends on your dog’s activity level and how fast their nails grow. A good rule of thumb is: if you can hear their nails clicking on hard floors, it’s time for a trim! Aim for trimming every few weeks to maintain a healthy length.
Tools of the Trade
- Nail Clippers: Choose either guillotine-style or scissor-style clippers based on your preference and your dog’s nail size.
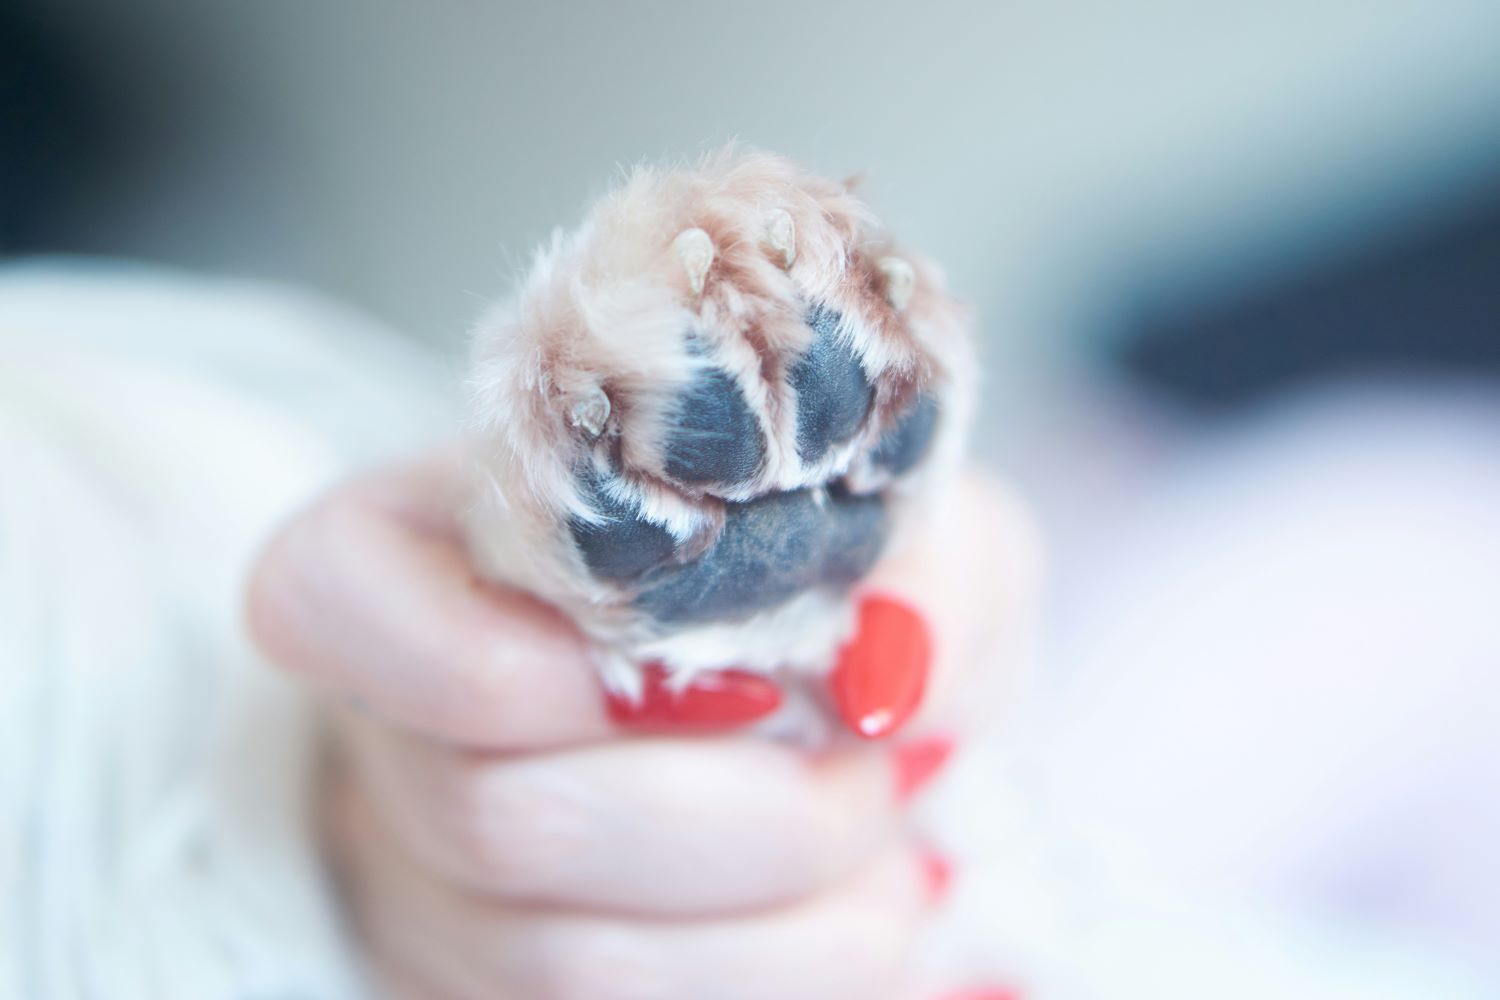
- Styptic Powder: Essential for stopping bleeding if you accidentally cut the quick (the pink, blood-filled part of the nail).
- Treats: Lots of positive reinforcement makes the experience less stressful!
How to Trim Your Dog’s Nails: A Step-by-Step Guide
- Positive Association: Start by handling your dog’s paws and toes regularly, rewarding with treats. This builds a positive association with having their feet touched.
- Familiarize With the Quick: Locate the quick in their nail. It’s easier to see on light-colored nails. Aim to cut just before where the nail starts to curve.
- Small Cuts: It’s better to take off multiple small cuts than risk cutting the quick.
- One Paw at a Time: Don’t try to do all four paws in one sitting, especially at first.
- Praise and Treats: Reward calm behavior throughout the process.
What if I Cut the Quick?
Don’t panic!
- Apply styptic powder to stop the bleeding.
- Comfort your dog and give them a break.
- Try again later when they are calmer.
When to Call the Professionals
- Severe Anxiety: If your dog is extremely fearful of nail trims, it might be less stressful for them (and you!) to have a vet or groomer do it.
- Thick, Black Nails: It can be hard to see the quick on dark nails. A professional can safely trim them.
- Medical Conditions: If your dog has underlying health issues, it’s best to consult your vet for nail care.
Additional Tips
- Start Young: Puppies who get used to nail trims early on are often easier to handle as adults.
- Dremel Option: For dogs who dislike clippers, a nail grinder or dremel can be a less-intimidating alternative.
- Patience is Key: Go slow and give your dog (and yourself) breaks if needed.
Healthy Nails, Happy Dog
By making nail trimming a regular part of your dog’s care routine, you’re ensuring their comfort, preventing injuries, and contributing to their long-term well-being!


